*Happy Bread*
Hello everybody, I hope you are having an incredible day today. Today, I'm gonna show you how to prepare a special dish, *Happy Bread*. One of my favorites food recipes. This time, I will make it a little bit unique. This will be really delicious.
*Happy Bread* is one of the most popular of recent trending foods in the world. It is easy, it is fast, it tastes delicious. It's enjoyed by millions every day. *Happy Bread* is something which I have loved my whole life. They are fine and they look fantastic.
Many things affect the quality of taste from *Happy Bread*, starting from the type of ingredients, then the selection of fresh ingredients, the ability to cut dishes to how to make and serve them. Don't worry if you want to prepare *Happy Bread* delicious at home, because if you already know the trick then this dish can be used as an extraordinary special treat.
To get started with this particular recipe, we have to prepare a few ingredients. You can have *Happy Bread* using 13 ingredients and 10 steps. Here is how you can achieve it.
as all breads it takes time to make but end results are soo worth it :-)
Ingredients and spices that need to be Make ready to make *Happy Bread*:
- 2 tsp dry instant yeast
- 1 tbsp sugar or honey...i used honey
- 100 ml warm milk
- 500 grams all purpose flour, plus extra for kneading and flouring
- 1 tsp salt
- 2 eggs lightly beaten
- 150 ml warm milk (extra)
- 2 tbsp olive oil
- 1/2 tsp vinegar or lemon juice...I used lemon juice
- 100 grams butter, melted and cooled
- 1 (GLAZE)
- 1 egg yolk
- 2 tbsp milk
Instructions to make to make *Happy Bread*
- Dissolve yeast and sugar in 100 ml milk, cover and leave in a warm place to rise 10 minutes
- in another bowl, sift the flour and salt together. Make a well in the middle and add beaten eggs into it, the remaining warm milk, olive oil, vinegar and yeast mixture. Knead the dough with your hands or in your mixer until it separates from the sides of the bowl. Remove dough, place on lightly floured surface and knead for about 10 minutes until it becomes a soft, pliable dough. Place in a greased bowl, cover with a towel and leave to rise in a warm place until doubled in volume- about an hour.
- Punch risen dough and transfer on a floured surface, divide dough into 2 equal parts. Divide each of these again into 4, so you have eight pieces of dough altogether.
- Roll each piece of dough out into a roughly rectangular shape with a thickness of 3-5 mm. Brush cooled melted butter over each piece. set aside remaining butter for later.
- Place one piece of rectangular dough over another one abd start to roll into a cylinder. Do the same with the rest of the dough; you will end up with 4 cylindrical rolls altogether.
- Cut each roll into three pieces this way. ..slice off both ends of the roll about 1.5 inch long each , and put these 2 pieces aside. Then cut the middle part of the roll into 4 triangles.
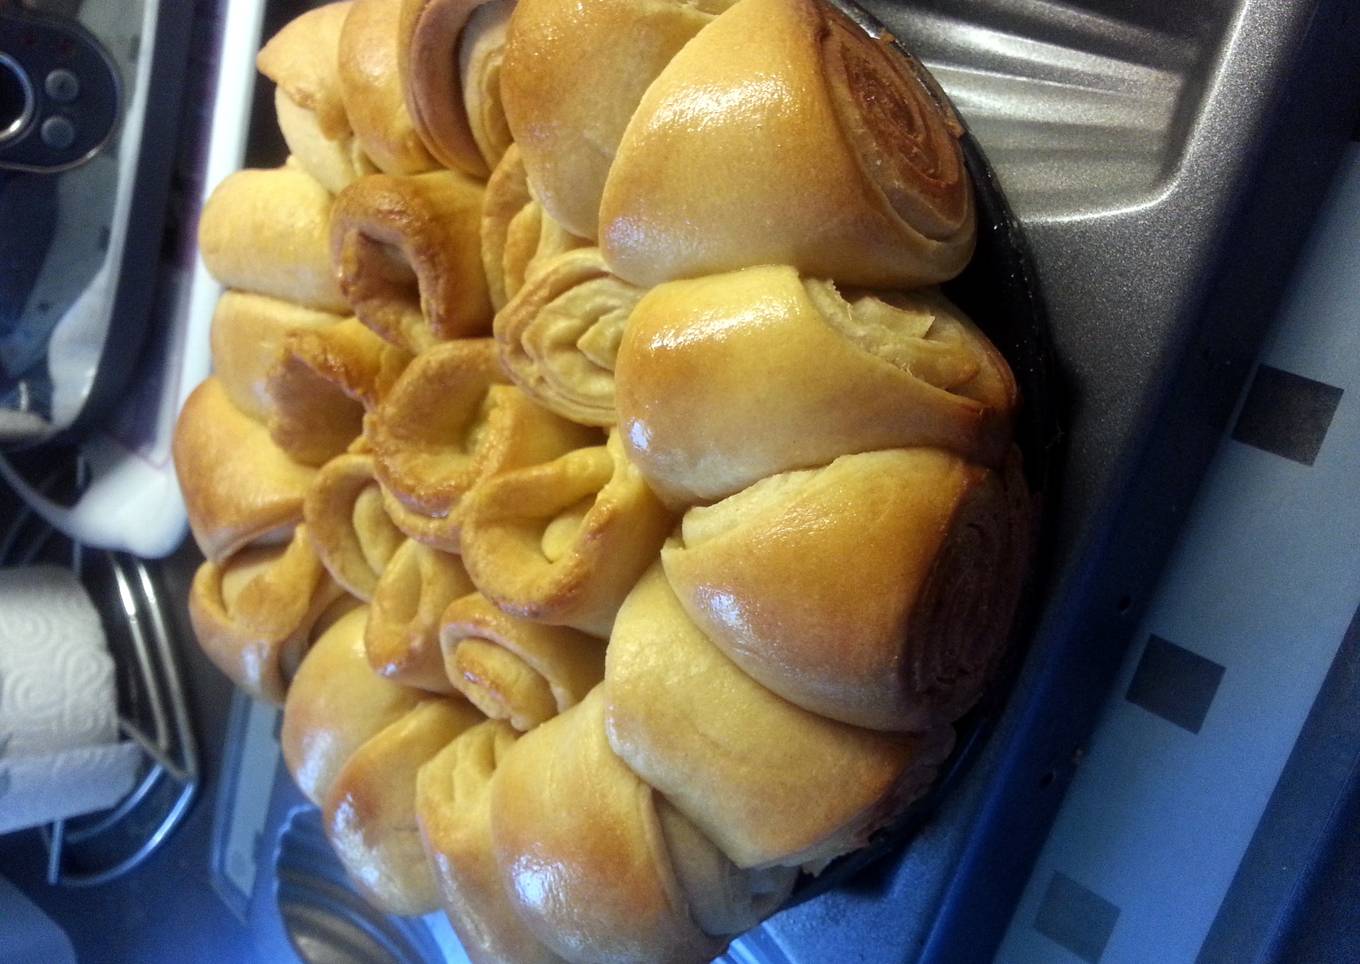
- Preheat oven to 180C. Grease or line a large baking tray. In the middle of the tray , arrange the cut ends of the roll around each other to form a circle, placing the cut sides down. Arrange the cut triangles to completely surround the middle circle. Cover with a towel and leave the dough to rice in a warm place for about 30-40 minutes
- Beat the yolk and the milk with a fork to form a glaze. ( you can sprinkle with sesame seeds or other dry toppings at this point ) Bake bread for 20-30 minutes, reducing the temperature to 160C after 10 minutes in the oven.
- Brush bread with melted butter as soon as it comes out of the oven , cover with a towel and leave to cool for 10-15 minutes before eating
- saw this on net ( Foodiva)
As your experience and confidence grows, you will locate that you have extra all-natural control over your diet plan and adapt your diet to your personal preferences with time. Whether you wish to serve a recipe that utilizes fewer or even more ingredients or is a bit more or less hot, you can make basic modifications to accomplish this objective. Simply put, begin making your dishes promptly. When it comes to fundamental food preparation abilities for beginners you don't need to learn them however just if you grasp some basic food preparation techniques.
This isn't a full overview to fast and also simple lunch recipes but its good something to chew on. Hopefully this will get your innovative juices flowing so you can prepare delicious meals for your household without doing too many square meals on your trip.
So that is going to wrap it up with this exceptional food Step-by-Step Guide to Make Super Quick Homemade *Happy Bread*. Thanks so much for reading. I am confident that you will make this at home. There is gonna be more interesting food in home recipes coming up. Don't forget to bookmark this page on your browser, and share it to your family, colleague and friends. Thanks again for reading. Go on get cooking!


Comments
Post a Comment